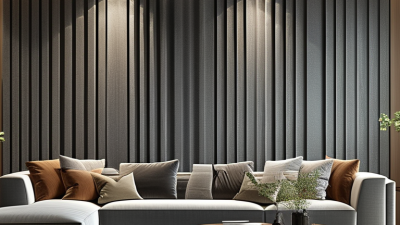
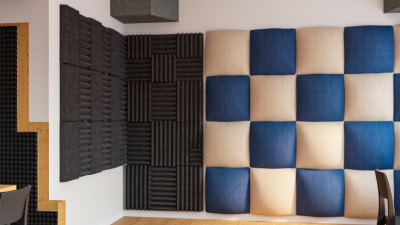
How to Choose the Right Acoustic Treatment Panels
A room can look finished and still sound tiring. Voices may blur across a hard dining table, while footsteps and keyboard taps bounce between bare walls. Choosing acoustic treatment panels is not about covering every surface. It is about identifying the sound problem, then treating it with suitable materials and placement.
Sound consultant Julian Treasure has said, “Sound affects us physiologically, psychologically, cognitively, behaviorally.” That observation matters in real spaces. Clearer speech can make a meeting room easier to use, while controlled reflections may make a home studio more comfortable. But panels are not magic. They absorb some sound reflections; they do not block all noise from neighboring rooms or fix every low-frequency problem.
Start by considering the room’s purpose, size, surfaces, and main listening position. Notice where speech feels harsh or echoes linger. A simple test helps: clap once and listen. Then compare panel thickness, absorption ratings, fabric, and installation options. Thin decorative panels may look neat, yet perform differently from thicker absorbers. Placement matters, too. A few well-positioned panels can be more useful than a wall covered without a plan. Small changes count.
There is a detail people sometimes miss: comfort is personal. A lively kitchen should not feel like a recording booth. If possible, test samples in the room before buying. Keep expectations realistic, and consider professional advice when the space has persistent bass buildup or demanding recording needs. The right choice balances measured performance, practical installation, and how the room actually feels.
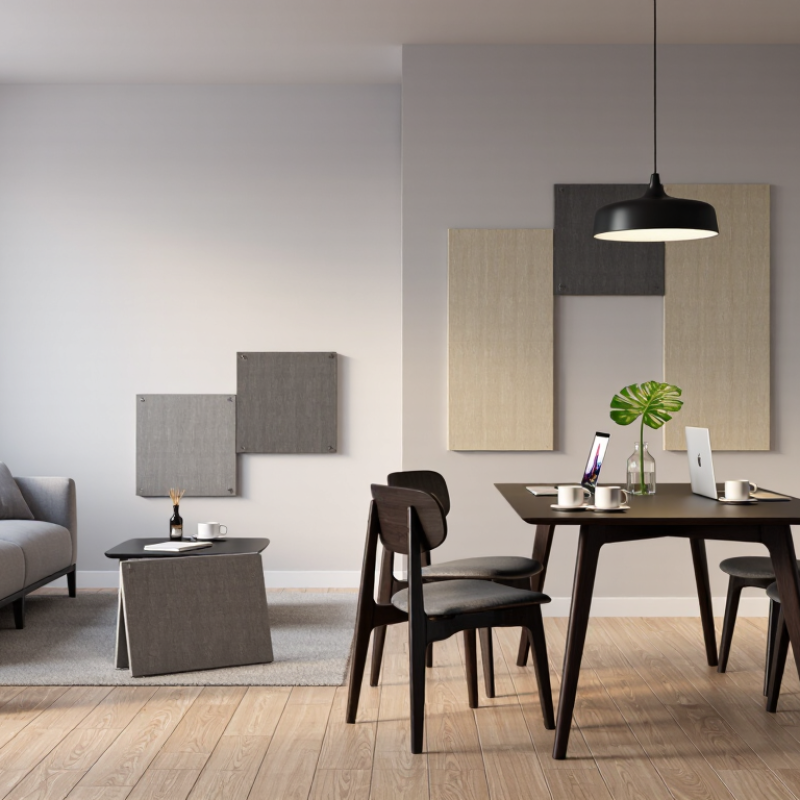
Assess the Room’s Acoustic Problems and Treatment Goals
Before choosing acoustic panels, identify what the room actually does. Clap once from the listening position and listen for a fluttering ring between parallel walls. Then speak near a desk, doorway, and back wall; speech that sounds muddy in one spot may reveal uneven reflections. A phone recording can help compare locations, though it is not a calibrated measurement. Be specific.
Write down the room’s dimensions, your main listening or speaking position, and the surfaces nearby. Note when the problem is most noticeable. For music work, bass notes that change noticeably across the chair may be the priority. For meetings, clear speech across the table may matter more. Also check whether noise comes from inside or outside the room. Absorptive panels can reduce reflections, but they do not block sound passing through walls.
Set a goal you can observe, such as reducing a sharp echo near the back wall or making conversation easier without raising your voice. Move a rug, curtain, or bookcase temporarily and listen again; simple changes can expose the real problem. This test is imperfect. I sometimes mistake a bass issue for a general lack of clarity, so compare several listening positions before deciding. Choose panel placement to address the observed reflections, while avoiding so much absorption that the room feels unnaturally dull.
Compare Panel Types, Materials, and Sound-Absorption Ratings
Choose panels by the frequencies and reflections causing trouble, not by appearance alone. Fiberglass and mineral-wool panels often absorb a broad range of speech frequencies. Thin foam tends to work better on higher frequencies, while thicker panels or an air gap can improve low-frequency absorption. PET panels vary by thickness and density; material name alone tells you little.
Check how ratings were measured. ASTM C423 laboratory tests report sound absorption, and the Noise Reduction Coefficient (NRC) averages results at 250, 500, 1,000, and 2,000 Hz. An NRC of 0.80 indicates strong average absorption across those bands, not equal performance at every frequency. Not the whole story. Compare thickness, mounting method, and octave-band data; two panels with the same NRC may behave differently in your room.
Room use matters. ANSI/ASA S12.60-2010/Part 1 sets a maximum reverberation time of 0.6 seconds for furnished, unoccupied classrooms up to 10,000 cubic feet. That target is a useful reference, not a universal home or studio prescription. In practice, clap near a bare wall, then listen from the seating area. A fluttering echo may call for wall coverage; a boomy corner may need thicker treatment. I still find panel placement less intuitive than product charts suggest. Test a small area before covering the room.
Match Panel Performance to the Room’s Size and Use
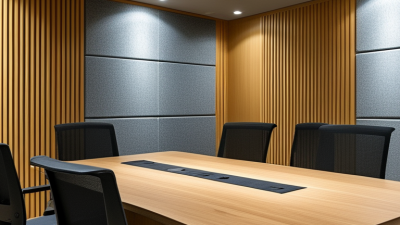
A panel that looks substantial may still be wrong for the room. Start with the room’s size, ceiling height, and main activity. A small meeting room with glass walls often needs absorption at voice-reflection points, not panels covering every surface. In a larger room, a few small panels may leave speech sounding distant and muddy. Measure the space and note hard surfaces before choosing panel area and thickness.
Match performance to the sound you want to control. For clearer speech, prioritize mid-frequency absorption and place panels near wall reflections, such as beside a conference table. For music practice, broader frequency absorption can help, but low notes may need thicker treatment or carefully placed corner absorbers. Check published test data, including the method and frequency range; a single rating does not describe every sound. Panels absorb sound inside a room. They do not, by themselves, block noise passing through walls.
There is no perfect formula. People, furniture, and panel placement change how a room sounds, so estimates can miss the mark. Start with a measured plan, install a modest amount, then listen from the seats people actually use. A short voice recording can reveal problems you overlooked.
How to Choose the Right Acoustic Treatment Panels
Match panel performance to the room’s size and use. These typical reverberation-time (RT60) planning ranges offer a starting point; the ideal target depends on room volume and the activities taking place.
Shorter RT60 targets generally suit rooms that need speech clarity or precise sound monitoring. Larger or more reverberant spaces may call for longer targets. Choose panels based on their absorption performance and the room’s dimensions—not panel count alone.
Plan Panel Placement and Coverage for Key Reflection Points
Plan panel placement around early reflections, not empty wall space. Sit in your usual listening position and ask someone to slide a small mirror along each side wall. Mark the spots where you can see a speaker; those are practical starting points for absorption panels. Check the ceiling too, especially above the path between your speakers and seat. Start with listening. A few well-placed panels can reduce distracting reflections without making a room feel unnaturally dull.
Coverage depends on the room’s shape, furnishings, and use. Treat matching points on both side walls when possible, then listen for changes in speech clarity and stereo focus. A rug or bookcase may already soften some reflections, so avoid covering every hard surface by default. In a small room, the back wall can create a strong return; test a panel there before adding more across the room. Measurements help, but a phone app or quick hand clap cannot describe every problem. My own first placement would not always survive a second listening session.
Tips: Mark panel positions with removable tape before drilling. Move one panel at a time, replaying the same music or speech. Leave some bare wall if the room starts sounding flat.
Check Installation Requirements and Fine-Tune the Results
Check installation requirements before choosing panel thickness or quantity. Measure each wall and note doors, outlets, radiators, and sprinkler heads. Confirm the wall can support the finished panel weight, and follow the mounting system’s clearance and fixing instructions. Fabric, adhesive, and core materials also need to suit the room’s fire-safety requirements. A neat layout can still fail if it blocks access or leaves unsafe gaps.
Then fine-tune by listening and measuring. ANSI/ASA S12.60-2010/Part 1 sets a maximum reverberation time of 0.6 seconds for unoccupied core learning spaces up to 10,000 cubic feet. This is a classroom benchmark, not a universal target for every room. ASTM C423 laboratory reports use the Noise Reduction Coefficient (NRC) to compare absorption, but NRC alone does not show performance at every frequency. After installation, record reverberation time from the same positions, then add or reposition panels where reflections remain obvious. A handclap can reveal flutter echo; it cannot replace measurement. I would not assume the first layout is right.
Tips: Mark panel edges with removable tape first. Test one wall, listen from the seats, and adjust before drilling the full pattern. Keep a note of each change.