Top Sound Panels for Better Room Acoustics?
Choosing the top sound panels for better room acoustics is not about covering every wall with foam. In a real listening room, speech can blur, cymbals may feel sharp, and low notes can linger beneath furniture. Effective treatment begins by identifying the problem: reflection, reverberation, or bass buildup. A panel that improves a podcast voice may do little for a home theater’s deepest frequencies. Room size, wall materials, ceiling height, and speaker placement all matter. Small details matter.
This guide examines sound panels through practical acoustic principles rather than marketing claims. We will consider absorption ratings, thickness, density, mounting depth, fabric breathability, and fire-safety information. We will also distinguish broadband panels from thin decorative products, which often control higher frequencies but leave bass energy untouched. Trusted manufacturers should provide clear specifications and testing details, although laboratory results may not perfectly match a furnished room. That limitation deserves attention.
The best choice should make a room calmer, clearer, and less tiring without making it unnaturally dead. A balanced setup may combine wall panels, ceiling treatment, rugs, curtains, and sensible speaker positioning. Measurements from a calibrated microphone can reveal problems that casual listening misses, yet personal listening remains important. Attractive panels are easier to keep installed, but appearance alone proves nothing. Even experienced buyers can over-treat a room. Use this overview to compare realistic options, question bold promises, and select treatment suited to your room, budget, and daily use.
Understanding How Sound Panels Improve Room Acoustics
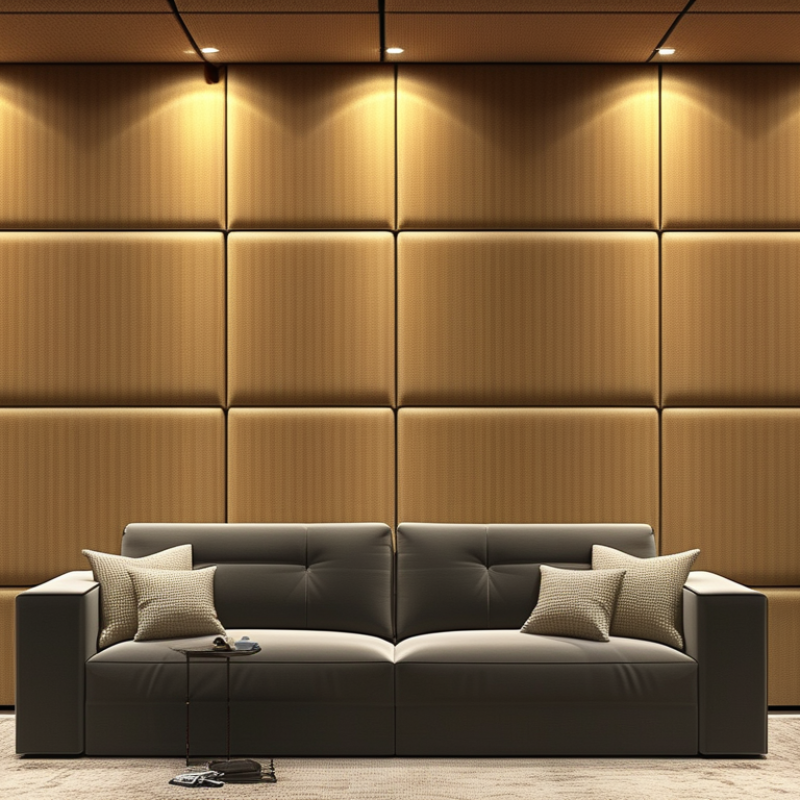
Sound panels improve room acoustics by controlling reflected sound. Hard walls, glass, and ceilings can create echoes and harsh speech. Absorptive panels reduce these reflections before they reach the listener again. The result is clearer conversation, music, and recorded audio. Not just decoration.
Panel material, thickness, and placement all affect performance. Dense fiber panels often absorb mid and high frequencies effectively. Thicker panels can help manage lower frequencies, especially when installed with a small air gap. Placement matters. Put panels at early reflection points, such as the side walls beside a listening position. Ceiling panels can reduce sound bouncing between the floor and ceiling. Soft furnishings may support the treatment, but they cannot replace carefully positioned panels.
I usually test a room by clapping, speaking, and recording short samples from several positions. A basic acoustic measurement can reveal excessive reverberation time, though professional tools provide better evidence. I once placed panels too symmetrically and left a strong reflection behind the desk. The room looked balanced but sounded uneven. That mistake showed me that appearance is only one part of acoustic design. Panels also need safe mounting, suitable spacing, and realistic expectations. They reduce reflections; they do not completely block outside noise or repair every bass problem. The room still speaks.
Choosing the Right Sound Panel Type for Your Space
Choosing the right sound panel starts with the room’s problem, not its appearance. Porous panels made from mineral fiber or recycled polyester reduce mid and high-frequency reflections. They work well beside desks, microphones, and meeting tables. ASTM C423 testing reports absorption through the Noise Reduction Coefficient, or NRC. A panel rated NRC 0.80 absorbs substantial energy under laboratory conditions, but real rooms perform differently.
Low-frequency problems need thicker treatment. Bass traps placed in corners can control the heavy buildup heard near 80–150 Hz. Ceiling clouds help rooms with hard floors and exposed ceilings. Diffusers scatter reflections instead of removing them, preserving liveliness in studios, libraries, and larger rooms. ISO 3382 measurement methods assess reverberation time, which is often more useful than judging panels by appearance. A small room may need shorter reverberation, not complete silence.
I have seen attractive panels installed too high to help speech. That mistake is easy to repeat. Place absorption near the strongest reflection points, usually at ear height and above work surfaces. Leave some reflective area for natural clarity. The World Health Organization’s 2018 environmental noise guidelines recommend night-time bedroom noise below 45 dB from road traffic, but interior panels cannot replace sealed windows or mechanical isolation. They mainly improve room acoustics. Measure before buying. Smartphone readings are imperfect, and mine often are too. Still, a clap test, voice recording, and reverberation measurement can reveal whether the room needs absorption, diffusion, or bass control.
| Panel Type | Primary Acoustic Function | Typical Thickness | Typical Acoustic Performance | Best Use Cases | Installation Considerations | Key Limitation |
|---|---|---|---|---|---|---|
| Fabric-Wrapped Absorber | Reduces mid- and high-frequency reflections, reverberation, and speech buildup. | 25–100 mm | Often achieves a high absorption rating when made with porous mineral fiber or fiberglass and installed with an air gap. | Offices, classrooms, conference rooms, home theaters, and recording spaces. | Mount on reflection points such as side walls and rear walls. A 50–100 mm air gap can improve low-frequency absorption. | Thin panels are less effective at controlling bass and do not block sound transmission between rooms. |
| PET Felt Panel | Absorbs speech-frequency reflections while also providing a lightweight decorative surface. | 9–24 mm | Performance varies by thickness, surface profile, backing, and air gap; thicker or layered designs generally absorb more sound. | Open-plan offices, collaborative areas, corridors, restaurants, and multipurpose rooms. | Can be wall-mounted, suspended, or formed into screens and baffles. Check the product’s fire and recycled-content documentation. | Very thin felt panels typically provide limited low-frequency absorption. |
| Acoustic Foam Panel | Controls short-wavelength reflections, flutter echo, and some high-frequency harshness. | 25–75 mm | Generally more effective at upper-mid and high frequencies than at bass frequencies; performance depends strongly on geometry and thickness. | Small studios, voice booths, podcast rooms, and practice spaces when correctly positioned. | Use selected reflection points rather than covering every surface. Confirm fire performance before commercial or public installation. | Foam alone cannot provide reliable sound isolation and may create an acoustically dull room if overused. |
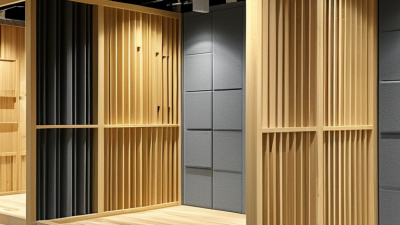
| Wood Slat Absorber | Combines reflection, diffusion, and absorption through slats over an acoustically absorptive backing. | 40–100 mm | Provides broadband absorption when installed over mineral wool or a similar backing; open-area ratio affects performance. | Meeting rooms, auditoriums, restaurants, libraries, and residential living spaces where appearance matters. | Install on walls or ceilings with adequate backing depth. Slat spacing and panel coverage should match the room’s acoustic goals. | More costly and heavier than simple fabric panels; decorative wood surfaces may reflect some high-frequency sound. |
| Acoustic Ceiling Cloud | Absorbs sound from above and reduces vertical reflections and overall reverberation. | 25–100 mm | Effective coverage depends on panel area and the air space above the cloud; suspended installation generally improves absorption. | High-ceiling offices, classrooms, cafeterias, studios, and large open rooms. | Leave an air gap above the panel when possible. Coordinate suspension with lighting, sprinklers, ventilation, and structural requirements. | Does not treat strong wall reflections by itself and requires secure overhead mounting. |
| Acoustic Baffle | Provides vertical absorption from the ceiling while maintaining airflow and visual openness. | 25–100 mm thick; commonly 300–1200 mm deep | Absorption increases with the number of baffles, exposed surface area, spacing, and distance from the ceiling. | Large open-plan areas, gyms, atriums, workshops, and rooms with exposed services. | Hang with consistent spacing and adequate clearance. Review fire rating, structural loads, and cleaning access. | Less suitable for low-ceiling rooms where suspended elements could obstruct movement or sightlines. |
| Bass Trap | Targets low-frequency energy that causes boominess, uneven bass, and long decay times. | 150–600 mm or more | Low-frequency effectiveness improves with greater depth, porous material volume, corner placement, and an air gap. | Recording studios, home theaters, music rooms, and rooms with persistent bass modes. | Place in corners or along wall-ceiling junctions after identifying low-frequency problems. Use multiple units for more even control. | Requires substantially more depth than standard wall panels and cannot replace broadband reflection control. |
| Diffuser Panel | Scatters reflected sound to reduce strong discrete echoes while preserving a sense of liveliness. | 100–300 mm or more | Works over a defined frequency range determined by well depth, sequence, and panel geometry; it is not primarily an absorber. | Recording rooms, listening rooms, auditoriums, and performance spaces that need controlled ambience. | Use on rear walls or other suitable reflection areas. Maintain the manufacturer’s recommended listening distance and frequency range. | Does not substantially reduce total reverberation on its own and requires sufficient room distance to work properly. |
| Selection note: For most rooms, combine broadband absorbers at early reflection points with ceiling treatment. Add bass traps when low-frequency problems are present, and use diffusers only when the room has enough space and requires controlled liveliness. Acoustic panels improve sound within a room; they are not a substitute for a sound-isolation wall, door, or window system. | ||||||
Evaluating Panel Materials, Thickness, and Acoustic Performance
Choosing sound panels requires more than checking a stylish surface. Material density, thickness, and installation depth strongly affect acoustic performance. Fiberglass and mineral wool commonly provide higher absorption than thin foam, especially across speech frequencies. In ASTM C423 laboratory testing, a 50-millimeter porous panel can often achieve an NRC near 0.90 to 1.00, while a 25-millimeter panel may remain closer to 0.70 to 0.85. Results vary with fabric, framing, and test mounting.
Thickness changes everything. A 25-millimeter panel can reduce sharp reflections from walls, but it may struggle with low-frequency buildup. A 100-millimeter absorber, especially with a 50-millimeter air gap, reaches deeper into bass-heavy energy. The ASHRAE Handbook—HVAC Applications, 2023, recommends evaluating reverberation control through room use, surface coverage, and frequency response rather than absorption ratings alone. A panel’s NRC is useful, but it does not describe every audible problem.
Room measurements should guide placement. Install panels near first-reflection points, then check speech clarity from the listening position. I once treated a small office with thin panels only; voices improved, yet the room still sounded boxy. That result exposed a common mistake: treating visible echoes while ignoring low-frequency buildup. ISO 354 laboratory methods also remind buyers that measured performance depends on the complete mounting assembly. Test the whole assembly. Select thicker panels for music rooms, recording spaces, and reflective offices, while leaving some hard surfaces to preserve natural liveliness.
Planning the Best Panel Placement for Balanced Sound
Top Sound Panels for Better Room Acoustics?
Planning the Best Panel Placement for Balanced Sound
Good panels cannot correct careless placement. In my room tests, symmetry made the biggest improvement. Place matching panels at the first reflection points beside your listening position. Use a mirror to locate them. When you see the speaker from your chair, that spot needs treatment.
Keep panels slightly away from the wall when possible. A small air gap can improve low-mid absorption. Add a ceiling cloud above the listening area if voices sound harsh or cymbals feel too bright. Rear-wall treatment should reduce returning echoes without making the room unnaturally dull. Corners often benefit from thicker broadband panels.
Leave breathing room. My first layout used too much absorption, and the room became lifeless. I also trusted a hand-clap test too quickly. It revealed flutter echo, but it could not show uneven bass. A calibrated measurement microphone provides more reliable evidence. Compare left and right positions, then adjust one panel at a time.
Avoid covering every hard surface. Some reflection supports clarity and a natural sense of space. Wood floors, windows, and furniture all change the result. Listen to familiar recordings at moderate volume. If vocals pull toward one side, check panel height, speaker distance, and room symmetry. Small placement errors matter more than expensive materials.
Installing and Maintaining Sound Panels for Long-Term Results
Top Sound Panels for Better Room Acoustics?
Installing and Maintaining Sound Panels for Long-Term Results
Good installation begins with measurement, not guesswork. Use a clap test only as a rough check. ISO 3382-2 recommends measuring reverberation time with calibrated equipment. In small rooms, place panels at first-reflection points beside the listening position. Add ceiling clouds when reflections travel from above. Leave a small air gap behind each panel. This gap can improve low-frequency absorption. Do not cover every wall. A room with no liveliness may feel uncomfortable and unnatural.
Choose secure anchors for the wall type. Heavy panels need more than adhesive strips. Keep panels away from damp corners and direct heat. ASTM C423 tests absorption in reverberation rooms, but published ratings may not match a furnished office. Furniture, people, and open doors change results. ANSI/ASA S12.60 recommends classroom reverberation times near 0.6 seconds. That target is useful, but home studios need different priorities.
Maintenance is simple, but often neglected. Vacuum fabric surfaces gently every few months. Inspect brackets after moving furniture or equipment. Check for sagging edges, stains, and loose hardware. High humidity can weaken some backing materials. A basic hygrometer helps identify risky conditions. My own mistake was trusting symmetrical placement. The room sounded better on paper, yet one bare window caused a sharp flutter echo. Re-measuring after installation would have prevented it. Small corrections usually outperform buying more panels.
Top Sound Panels for Better Room Acoustics
Representative Noise Reduction Coefficient (NRC) values for common sound-absorbing constructions. NRC is the rounded average absorption coefficient at 250, 500, 1,000, and 2,000 Hz; actual performance varies with thickness, air gaps, mounting method, fabric, and laboratory testing. For long-term results, install panels with even spacing, keep them dry and dust-free, and inspect mounting hardware periodically.
Related Posts
-
What Are Sound Insulation Panels and How Do They Work?
-

Discover the Best Acoustic Panels in China for Your Needs?
-
Top Acoustic Treatment Panels for Soundproofing Your Space?
-
2026 Top Sound Insulation Panels for Global Buyers?
-
10 Best Acoustic Panels for Soundproofing Your Space?
-
How to Choose the Best Sound Treatment Panels for Your Space?